

A new season of fulfilling cycling is upon us. Make sure your bike is road/trail-ready and dodge any avoidable breakdowns or injuries.
Whether or not you are getting stoked for another season of riding, and for whatever reason, like the regular upkeep and maintenance of motor vehicles and motorbikes your ride needs some tender loving care to stay functioning at its best. We are not talking about going all-out and or a complete overhaul, but rather a simple tune-up that will ensure smooth shifting, proper braking, and non-sticking when you are pedaling uphill through an insistent headwind.
Start by inspecting and truing your wheels and checking the tires. If you suspend your bicycle, with a bicycle hook, or cable/string, the weight can deform the rim if left for a considerable time. You can use a wheel truing stand like we do here in the shop. But the easiest way to confirm there hasn’t been any kind of change in the rim’s geometry is to remove the tire and tube, and, while spinning the wheel freely, use a stable ruler, or another straight device, slowly approach the wheel little by little after each rotation. Once you come into contact with the rim, slowly spin the wheel freely and take notice of any change between each rotation. If it spins without showing any gaps throughout the rotation, then it is radially true. However, if there is resistance during the rotation, or a gap over one-to-two millimeters (1/8th inch) appears, this can be adjusted by tightening the nipples starting at the beginning of the gap, and in succession towards the end of the gap. adjust the ruler, or other straight tool to just touching the rim and repeat the process until there are no large spaces when rotating the wheel.
To laterally ‘true’ the rim, take the straight tool and slowly approach it using a straight tool on the lateral side (taller vertical face). You can use the post of the caliper brake, or use a plastic spring clamp if your bike uses disc or hub brakes, on the fork and rear triangle. Again, keep notice of any sizeable gap between the tool and the face of the wheel rim when rotating freely. Tighten the spoke nipples on the same side as the gap you intend to close and loosen on the opposite side. When tightening and loosening spoke nipples, it is good practice to tighten first and only loosen opposite spoke nipples by half or a quarter of the distance. If the gaps are larger than 12mm (1/2 inch), It is recommended you seek a professional bicycle mechanic who can inspect the rim further, and make an appropriate assessment, make further adjustments should the rime be bent, or compromised, or suggest purchasing a new wheel, or replace affected/bent spokes.
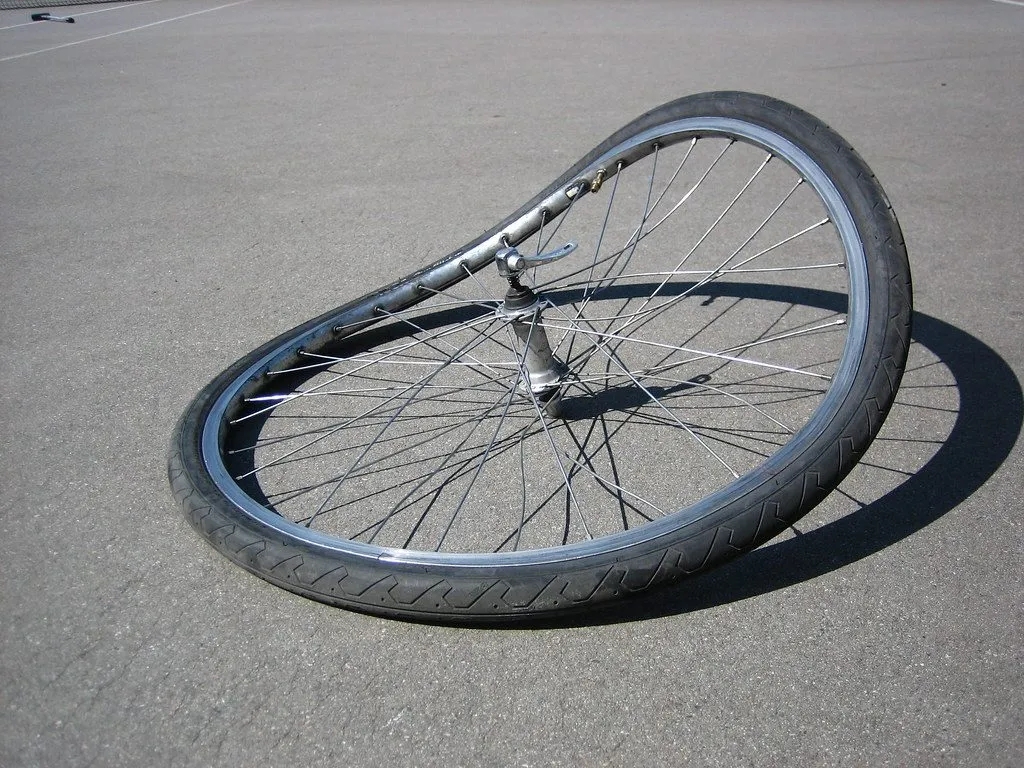
Photo courtesy of flatbike.com
You should not attempt to manually (by hand) bend an overly bent rim, as this means there could be damage to the spoke nipples or stretching of the spokes themselves. This presents a potential risk of the spokes coming loose, piercing through the rim tape, tire tube, and tire, and potentially causing severe harm to you or the intended rider. Remember, if you do not feel safe, parts of the bicycle become too loose or detached, or wheels, handlebars, cranks, or chains begin to not function properly, bring it to a professional bicycle mechanic to be inspected and properly fixed.

Leave a comment